Thinking about harnessing solar power but intimidated by the thought of a complicated, expensive installation? You're not alone. Many homeowners dream of energy independence but hesitate, fearing the need for professional electricians and complex wiring. At TeqClub, we're here to show you a better way. This comprehensive guide will walk you through the incredibly simple, DIY-friendly setup of the Anker SOLIX Solarbank 3 E2700 Pro. Get ready to have your own home energy storage system up and running in less than an hour! ☀️
1. What’s in the Box?
When you unbox your Anker SOLIX Solarbank 3 E2700 Pro, you’ll find everything you need for a smooth installation. The system is designed for simplicity, with minimal components to worry about. Inside, you'll typically find:
- The Solarbank 3 E2700 Pro unit itself.
- Mounting brackets and necessary screws for wall installation.
- The AC connection cable (Schuko plug) to connect to your wall outlet.
- Solar panel extension cables (MC4 connectors).
- A user manual and quick start guide.
Having everything included means no last-minute trips to the hardware store. Anker has truly embraced the all-in-one approach.
2. Quick Prep: 5 Minutes to Success
Before you start plugging things in, a few minutes of preparation will make the process even smoother. This is all about location and getting connected.
Choose the Perfect Spot
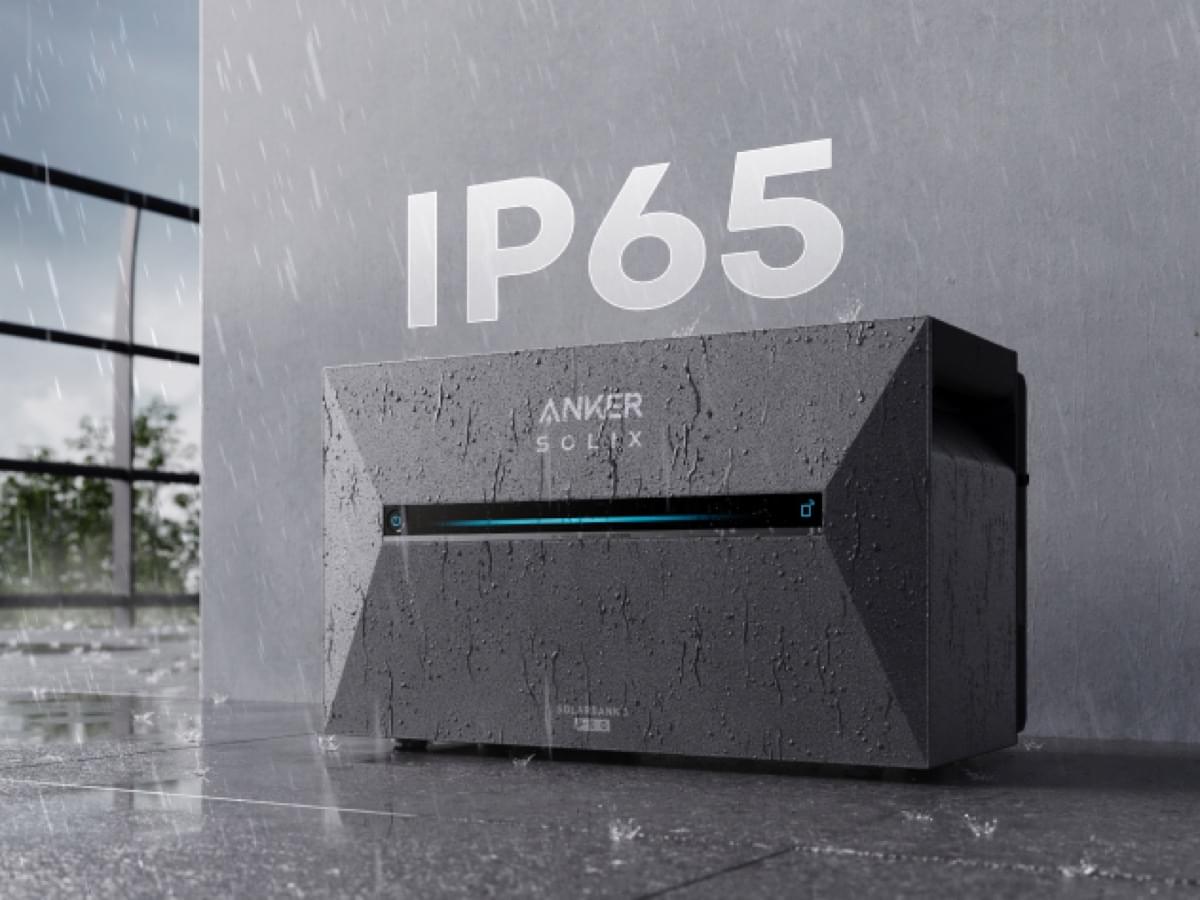
Find a suitable location for your Solarbank. It should be on a firm, level surface, like a patio, balcony, or a sturdy wall. Ensure it’s within reach of both your solar panels and a standard household wall outlet. The unit is built for the outdoors, but placing it in a somewhat sheltered spot can help prolong its life.
Download the Anker App
This is a crucial step! Go to your phone's app store and download the official Anker App. Create an account if you don't already have one. This app will be your command center for monitoring energy production, storage, and home usage, so it's best to have it ready to go.
3. Step 1: Secure Your Solarbank
Whether you're placing it on the ground or mounting it to a wall, securing the unit is your first physical step. If you're using a ground setup, simply place the Solarbank 3 Pro in your chosen location. For a wall mount, use the included bracket and screws to securely fasten it. Anker’s design makes this process straightforward, often requiring just a few common household tools. 🔧
4. Step 2: The Famous 'Plug & Play' Connection
This is where the magic happens and what sets the Anker SOLIX Solarbank 3 E2700 Pro apart. There's no complex wiring or electrical work needed. It’s as easy as plugging in an appliance.
- Connect Your Solar Panels: Take the MC4 cables from your solar panels (often from a balcony power setup) and plug them directly into the corresponding MC4 input ports on the Solarbank. They are designed to click securely into place, so you know you have a solid connection.
- Connect to Your Home: Take the provided AC power cord and plug one end into the Solarbank’s output port. Plug the other end (the standard Schuko plug) directly into a nearby wall outlet.
That's it! You have now physically connected your solar generation, energy storage, and home grid together. It’s truly a plug-and-play system designed for everyone.
5. Step 3: Power On and Configure via App
With everything connected, it’s time to bring your system to life. Press the power button on the Solarbank 3 Pro. Once it’s on, open the Anker App on your smartphone.
The app will guide you through a simple setup process:
- Follow the on-screen prompts to add a new device.
- Connect the Solarbank to your home’s Wi-Fi network.
- The app will automatically detect the unit and finalize the configuration.
Within minutes, you'll see a real-time dashboard showing how much power your panels are generating, the battery's current charge level, and how much energy is being fed into your home. You’ve successfully completed the installation!
Your Energy Journey Starts Now
Congratulations! As we've just demonstrated, installing the Anker SOLIX Solarbank 3 E2700 Pro is a simple, rewarding DIY project that you can easily finish in under an hour. You didn't need to hire an expert or deal with confusing electrical diagrams. You now have a powerful system that intelligently stores excess solar energy during the day and automatically powers your home when you need it, cutting down on your electricity bills.
Ready to take control of your energy future? Unlock savings and sustainability with this brilliant plug-and-play solution. Explore the Anker SOLIX Solarbank 3 E2700 Pro on TeqClub today! Feel free to share this guide, and if you have any questions about the process, drop them in the comments below!